Table of Contents
Overview
The Weather Wall app brings live, real-time weather data directly to your screens in a clear and engaging way. It shows hourly forecasts and key metrics such as temperature, real feel, humidity, wind, air quality, and visibility, so your viewers can stay informed at a glance.
Perfect for lobbies, offices, factories, schools, hotels, and public spaces, Weather Wall keeps everyone updated with current weather conditions and forecasts without the need to check any external source.
Key Features
- Detailed weather insights: Display temperature, real feel, humidity, wind, air quality, visibility, and hourly forecasts.
- Automatic updates: Weather data refreshes every 2 hours and includes forecast information for the next 48 hours.
- Customizable design: Choose from three themes: Animated, Classic, or Glass, and personalize colors, backgrounds, and branding.
- Location flexibility: Use the player’s location automatically or set a custom location manually.
- Multi-language support: Available in multiple languages and supports both Metric and Imperial systems.
Important Note for the App
Weather Wall is optimized for full-screen display. You can also use it in a layout, just make sure it has enough space to appear clearly.
Creating a Weather Wall app
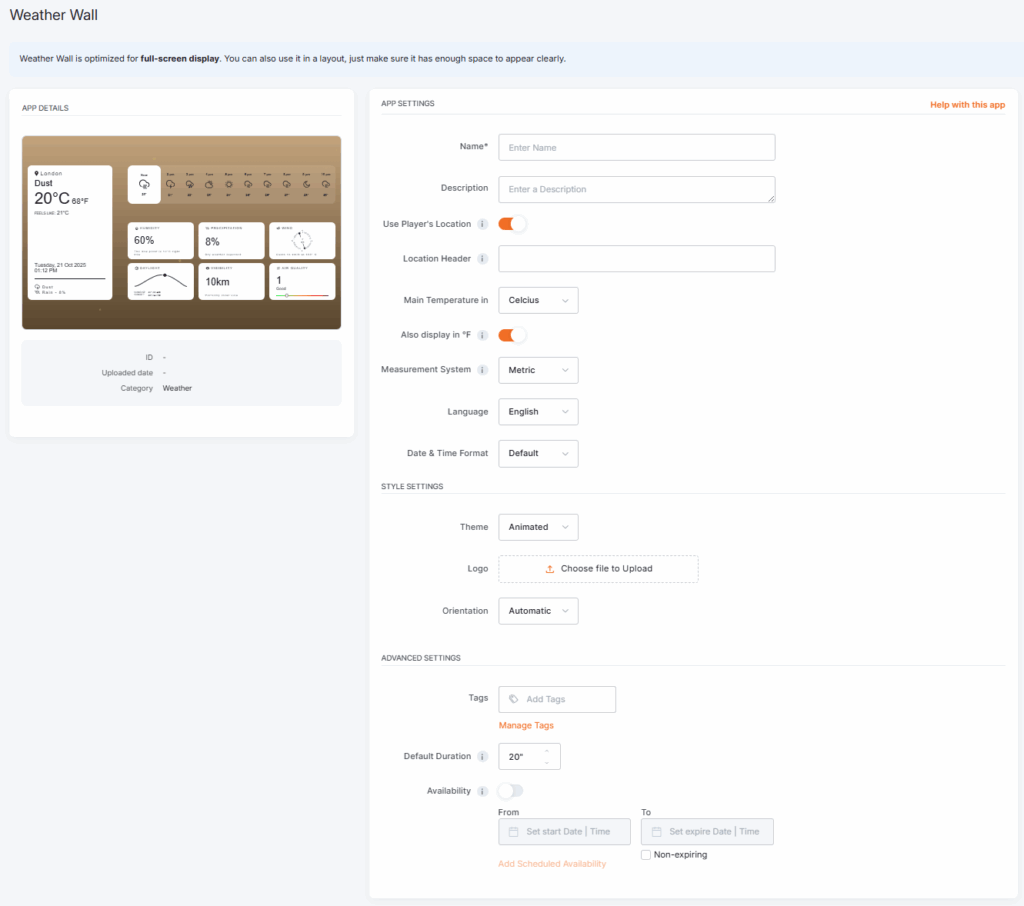
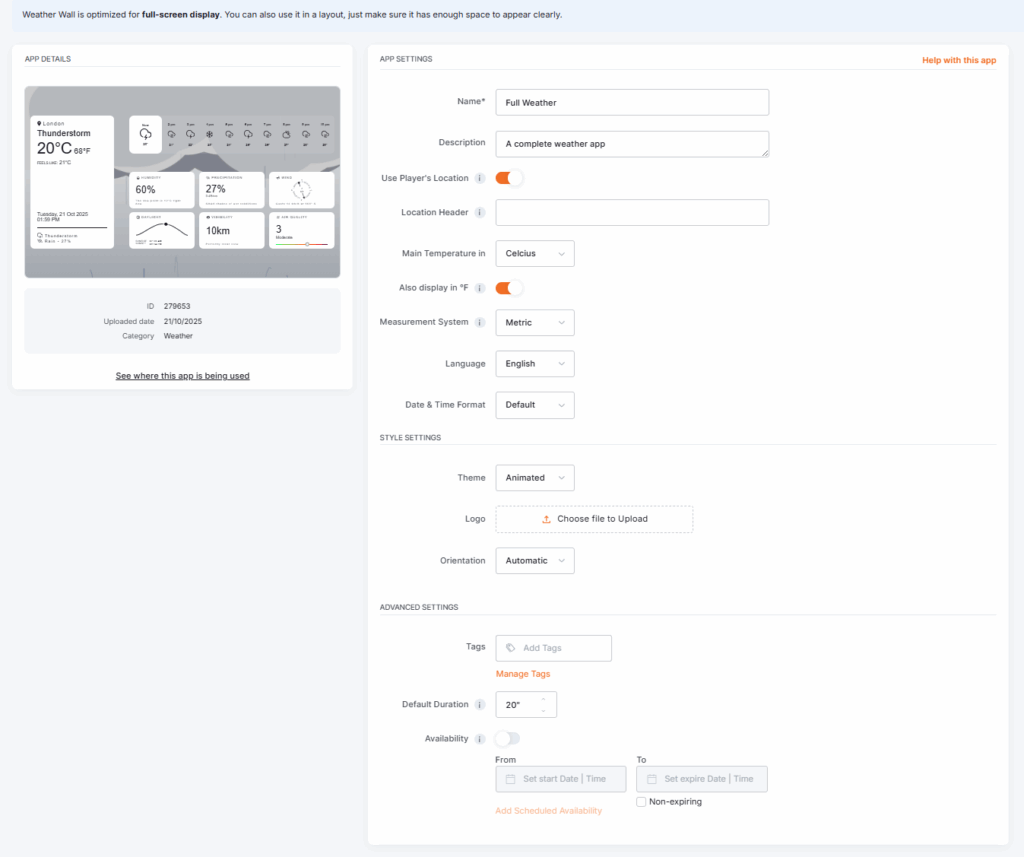
Click on the Weather Wall app within your App Gallery to add it, and fill in the app details as follows:
- Name (required): Give your app a descriptive name.
- Description: Optional. Add a short description for internal reference.
- Use Player’s Location: With this toggle button, you can either:
- On: Automatically detect the player’s physical location.
If the location is not displaying correctly or if you are encountering an error with the player’s location detection, please ensure that the Screen’s location pin is properly repositioned on the map and that this change is saved. To do this, navigate to Screens, select a screen, and then navigate to the Location tab. Move the pin slightly on the map and then Save the changes. - Off: Enter your custom location manually, with the help of a map and an address search bar.
- On: Automatically detect the player’s physical location.
- Location Header: You can manually add a custom city name to show inside the weather data (e.g., “New York”), or leave the field blank to display the city name automatically.
- Temperature Units: Choose how you want the temperature displayed (Celsius or Fahrenheit). In any case, there is also the option to choose whether to display the temperature on the other (non-selected) unit, or not, based on the following two options that appear dynamically:
- Also display in °F: This dynamic option appears only if the previous field selection was Celsius. You can toggle the button to display it or not.
- Also display in °C: The dynamic option appears only if the previous field selection was Fahrenheit. You can toggle the button to display it or not.
- Measurement System: Select between Metric and Imperial units.
- Language: Select the app’s preferred language from many supported languages.
- Date & Time Format: You can adjust how dates and times are shown based on your region, or you can provide a custom format.
- Theme: From this option, you can choose the theme that best suits your preference or audience:
- Animated Theme: Dynamic background changes automatically based on weather conditions. (Default)
- Classic Theme: Offers full control over colors and background image.
- Glass Theme: Displays curated background images based on the current weather.
- Logo (Branding): Upload a custom logo (appears at the bottom-right corner of the app).
- Orientation: Choose the orientation of the app display:
- Automatic: Let the system choose which orientation best fits the screen to which the app has been assigned.
- Landscape: The orientation of the displayed app is set to landscape.
- Portrait: The orientation of the displayed app is set to portrait.
- Tags: You can also provide a tag for this app to manage it better.
- Default Duration: Set how long the app will appear in a playlist.
- Availability: You can optionally restrict the app’s visibility based on date and time.
- Lastly, remember to click the Save button to create the app.
Refresh Interval
The app updates automatically every 2 hours and maintains weather forecast data up to 48 hours ahead.
Weather Wall app example
Here’s what the Weather Wall app looks like when displayed on your screen:
Best Practices
- Use player location if deploying screens in multiple regions. It ensures the app always shows accurate local weather.
- Choose the Animated theme for maximum engagement in public spaces.
- Keep layouts simple when using Weather Wall inside a layout to maintain readability.
- Upload a logo to reinforce your brand presence on shared screens subtly.
F.A.Q.s
Got questions? We’ve got answers! This section addresses common questions about the Weather Wall app.
Temperature, real feel, humidity, wind, air quality, visibility, and hourly forecasts.
Yes. You can use the player’s physical location or set a custom one manually.
Yes. Choose from Animated, Classic, or Glass themes and add a (branding) logo.